Materials needed:
- Old book pages or other paper
- Liquid glue
- Hot glue (optional)
- Thin garden wire
- Wire cutter
- Scissors
- Drawing compass (optional)
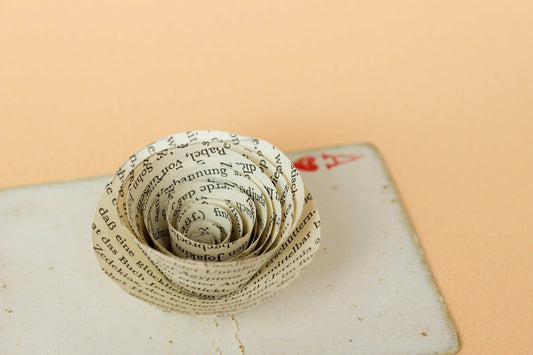
I'm a big fan of the book page vintage look for this DIY crafting project, but colorful paper, old maps or magazines will give you a beautiful and original result, too.
In this video tutorial, I'll show you how to make easy book page roses and a paper rose bouquet:
For the roses:
Step 1: Draw
Draw a spiral shape onto your chosen paper. Start thin at the outside and gradually make the lines wider toward the center. It’s best to draw a circle first to guide your spiral. Don’t worry if it looks a bit wobbly or uneven.
Step 2: Cut
Cut out the spiral. If you need more than one rose, stack several sheets of paper together while cutting.
Step 3: Roll
Tightly roll the paper starting from the outside and working your way toward the center.
Step 4: Glue
Place the rolled paper down and let it loosen —it will naturally take the shape of a rose. Add a generous amount of liquid or gel glue at the bottom center of the rose and gently press the spiraled paper into the glue. Let it dry for several minutes.
For the rose bouquet:
Step 5: Make rose stems
Once the roses are dry and stable, cut the garden wire into 20–30 cm pieces for stems and straighten them. Make as many stems as you have roses. For the bouquet in the pictures, I used 20 roses.
Step 6: Attach the roses to the stems
Bend about 0.5 cm of the wire tip backward into a flat loop. This will act as a stopper so the rose doesn’t slide off. Pierce the other end of the wire through the middle of the rose (top to bottom). Add a bit of glue at the base to secure the stem to the rose.
Step 7: Make a bouquet
Arrange your roses into a bouquet. Twist the wire stems together so they stay in place. You can add a ribbon for a finished look.


